How I Created a Hybrid Cache Handler for iOS
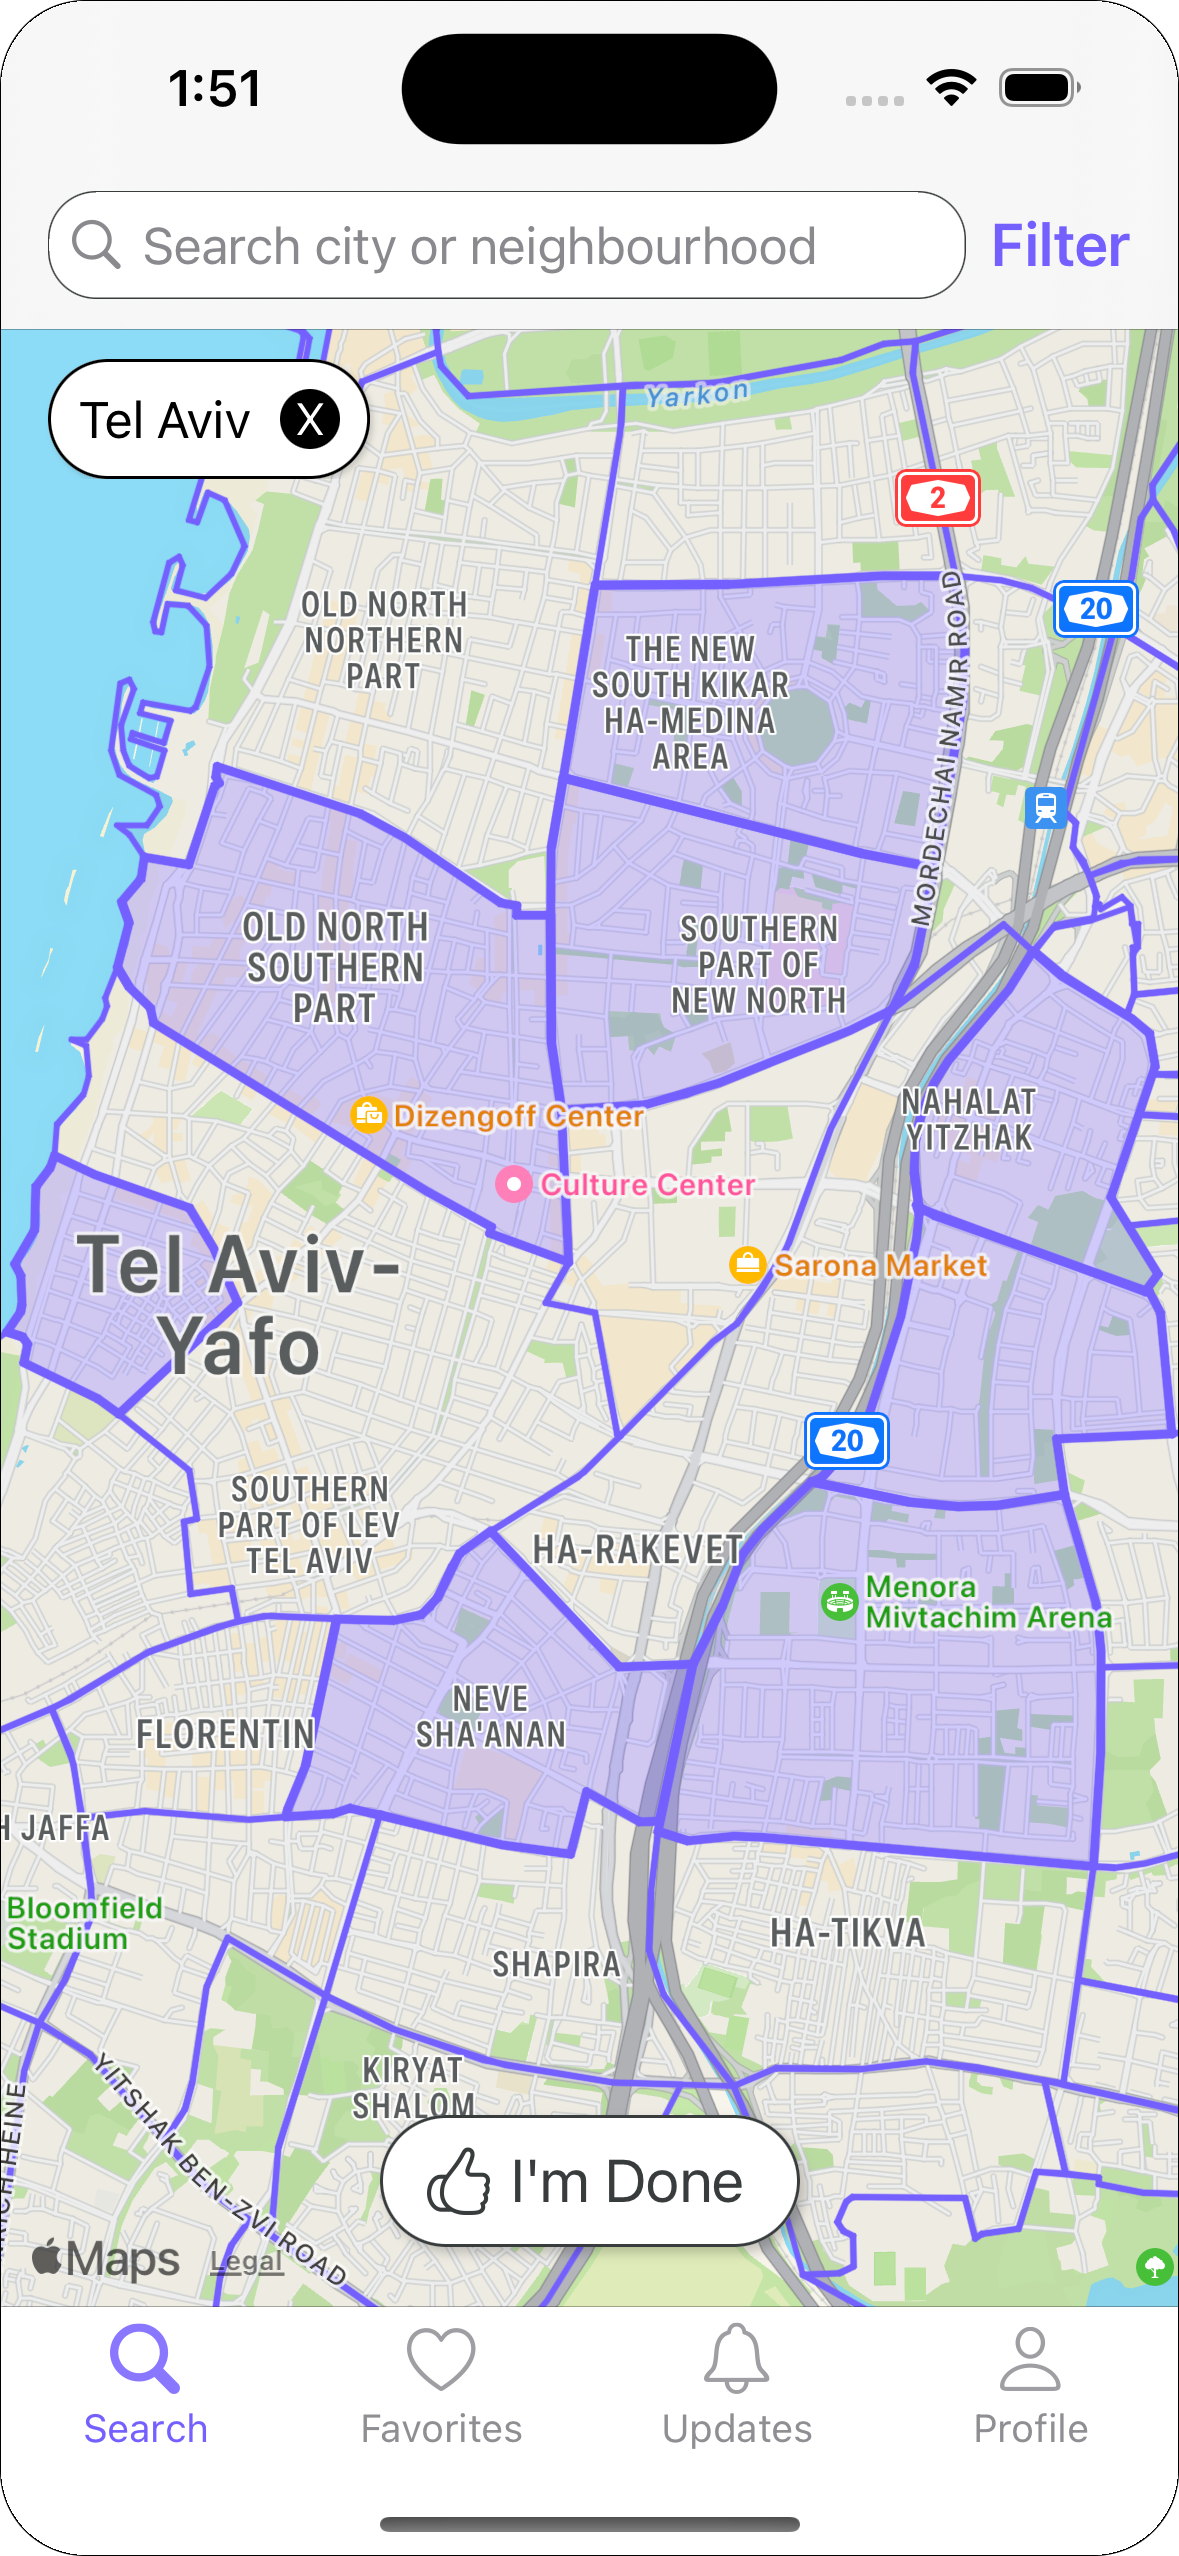
When building performant iOS applications, caching plays a crucial role in reducing load times, minimizing network usage, and improving the overall user experience. In my app Nester, I needed to render neighborhood polygons using MapKit. These polygons were represented as MKPolygon overlays, which are essential for the app’s "Select Regions" flow—the first interaction users trigger after launching the app.
To address this, I built a custom caching layer that supports both memory and disk caching. This solution ensured that neighborhood polygons were available immediately, without any delay, and provided flexibility for future updates.
In this post, I’ll walk you through how I created this hybrid cache handler, the challenges faced, and the problem it solved for the Nester app.
🚀 Problem: Large GeoJSON Files for Neighborhood Polygons
In Nester, the GeoJSON files that define neighborhood polygons are quite large (around 2.6MB in total). These files are required to render the map and display the neighborhoods for the "Select Regions" flow, which is the first interaction users trigger after launching the app.
I wanted the initial user experience to be instant—ensuring users could immediately interact with the map, without any delays waiting for data to load from the network or disk.
🛠️ Solution: Hybrid Cache Handler for Memory and Disk
To solve this problem, I designed a custom cache handler that allows me to cache both in-memory and on-disk. Here’s how it works:
- Disk Cache: On the first launch, the cache handler checks if the required data (neighborhood polygons) is already stored on disk. If not, it loads the data from preloaded files bundled with the app and saves them to the disk cache.
- Memory Cache: Once the data is cached on disk, it’s also loaded into memory for fast retrieval on subsequent app launches. This ensures that data is available instantly the next time the user interacts with the "Select Regions" feature, without any network lag.
- Preloaded Cache: This approach allows me to bundle the GeoJSON data inside the app, so even if the user is offline, they can immediately access the required polygons.
This hybrid approach (combining memory and disk caching) improved the app’s responsiveness while maintaining scalability for future updates. The solution also allowed me to release new cities via the backend or bundle them with the app in future updates, all while ensuring the app remains performant.
Why Not Use NSURLCache or Alamofire Cache?
You might wonder why I didn’t simply rely on NSURLCache or Alamofire’s built-in caching mechanisms. While both options are useful for caching HTTP responses, they weren't flexible enough for my use case. Here’s why:
- NSURLCache: This is designed for caching HTTP responses, not arbitrary data or custom objects like GeoJSON files. Additionally, it doesn’t give you full control over data expiration or the ability to cache complex data types.
- Alamofire Cache: While Alamofire’s caching can handle network responses, I needed more control over how and where I cache non-network data. I also required both memory and disk caching, with the ability to expire cache based on timestamps, which Alamofire doesn’t support out of the box.
Thus, building a custom caching system gave me fine-grained control over how data was stored, loaded, and expired, enabling me to deliver a smoother user experience.
🧩 Key Features of the CacheHandler
Here are the key aspects of the CacheHandler class that make it flexible and efficient:
1. Memory Caching
private let memoryCache = NSCache<NSString, AnyObject>()The NSCache class provides a fast, in-memory cache that automatically handles memory warnings by evicting objects when the system is under pressure. This makes it perfect for caching objects that are accessed frequently but do not need to persist across app launches.
2. Disk Caching with Expiration
private func saveResponseToDisk(_ response: AnyObject, forKey key: String) { ... }

private func loadResponseFromDisk(forKey key: String) -> AnyObject? { ... }
This function handles saving and retrieving data to/from disk. The data is stored using a SHA256 hash of the cache key, ensuring filenames are unique and safe for filesystem storage. Additionally, we check the modification date of the file to automatically expire old cached files after a set period (6 days in this case).
3. Preloaded Cache
private func copyPreloadedCacheIfNeeded() { ... }When the app starts, the cache handler checks if there are preloaded files bundled with the app. If so, it copies them to the disk cache. This ensures that essential data is immediately available, even if the user is offline or if the app has just been installed.
⚡ Usage Example
Here’s how you can use the CacheHandler class in your app:
Saving a Response to Cache
let key = "user-profile-123"
let jsonResponse: AnyObject = ...

// Save response to both memory and disk caches
CacheHandler.shared.cacheResponse(jsonResponse, forKey: key, cacheOptions: [.memory, .disk])
Retrieving a Cached Response
if let cached = CacheHandler.shared.getCachedResponse(forKey: key, cacheOptions: [.memory, .disk]) {
    // Use the cached data immediately
}
This simple interface allows you to choose whether to cache data in memory, on disk, or both, providing flexibility for your app’s performance needs.
⚡ Integration with AlamoFire Example
Integrating the CacheHandler class into your networking flow can significantly enhance your app's performance by reducing redundant network requests and loading times. Below are examples of how to save and retrieve cached responses using the CacheHandler:
Saving a Response to Cache
When you receive a response that you wish to cache, you can save it using the CacheHandler. Here's how you can do it:
import Alamofire

// Define your API endpoint and parameters
let endpoint = "https://api.example.com/data"
let parameters: Parameters = ["key": "value"]

// Generate a cache key based on the endpoint and parameters
let cacheKey = endpoint + (parameters.description)

// Attempt to retrieve cached response
if let cachedResponse = CacheHandler.shared.getCachedResponse(forKey: cacheKey, cacheOptions: [.memory, .disk]) {
    // Use the cached data immediately
    handleResponse(cachedResponse)
} else {
    // Perform the network request
    AF.request(endpoint, method: .get, parameters: parameters)
        .validate()
        .responseJSON { response in
            switch response.result {
            case .success(let value):
                // Cache the new response
                CacheHandler.shared.cacheResponse(value as AnyObject, forKey: cacheKey, cacheOptions: [.memory, .disk])
                handleResponse(value)
            case .failure(let error):
                // Handle error
                print("Request failed with error: \(error)")
            }
        }
}
In this example:
Cache Key Generation: A unique
cacheKeyis created by concatenating the endpoint URL and the description of the parameters. This ensures that each request has a distinct key, allowing for precise caching.Cache Retrieval: Before making a network request, the cache is checked for an existing response using the generated
cacheKey. If a cached response is found, it is used immediately, providing a faster user experience.Network Request: If no cached response is found, a network request is made using Alamofire's
AF.request. Upon receiving a successful response, the data is cached for future use.
This approach provides a flexible caching mechanism that integrates seamlessly with Alamofire, accommodating various networking configurations. By utilizing the CacheHandler, you can enhance your app's performance and ensure a smooth user experience.
🏁 Conclusion
Building a custom caching solution for my iOS app, Nester, was essential for delivering a fast and smooth user experience when dealing with large GeoJSON files. By creating a hybrid cache handler that supports both memory and disk caching, I was able to ensure that neighborhood polygons were available immediately after app launch, with no network delays.
This caching strategy also allowed for flexibility in how data is loaded and updated. I can release new cities via the backend or ship them in future app updates — all while keeping performance high and scalable.
If you're dealing with large datasets or need more control over your cache handling in iOS, I encourage you to check out the full code on GitHub and see how this approach might benefit your app as well!
Feel free to clone and modify the cache handler for your own projects. For any questions or feedback, don’t hesitate to reach out on GitHub.